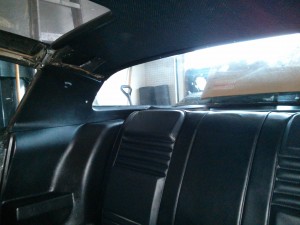
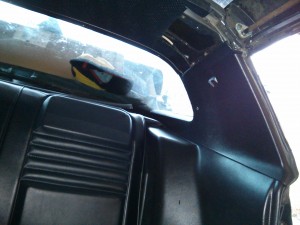
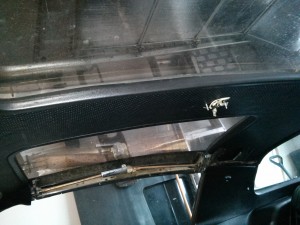
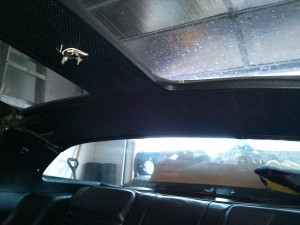
April was a very productive month! Thanks Bryan for coming down to help me install most of the interior!!!
Dashboard Covered and Installed!
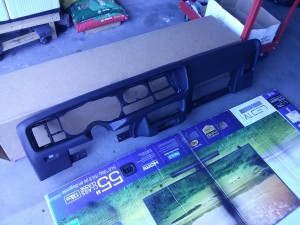
In March I started working on the dashboard, my original plan was to cover it with a dash cap made by AccuForm. I got the dash cap last year, at the time I did a quick fitment test and thought it was going to work. When I finally got ready to glue the dash cover, I quickly found gaps and fitment issues, mostly around the top left drivers side corner of the cover. The cover not only didn’t fit my 81 dash, it also didn’t fit the 2 other dashes I have, one from an 80 and another from a 79. After contacting the manufacturer, they sent me another cap to try. The replacement was identical to the first one I had, with maybe 1/16″ adjustment, not nearly enough to fit well. I promptly called them with measurements of where the cap was off, with 1 spot as much as 1/4″ misaligned. A week later they told me they can’t help me any further with the fitment issue.
I then did some research and found another dash cap made by Palco. When it arrived I quickly noticed that the plastic was thinner than the AccuForm version. Upon test fitting, I found it fit my dash perfectly. Lesson learned, if you have a 79-81 Firebird and are looking for a dash cap, get the Palco brand cover.
Interior Almost Done!
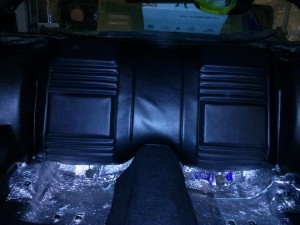
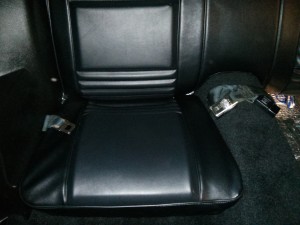
The interior is coming together quickly !The window columns, rear sail panels and headliner and trim are now installed and look great! I also got the rear seat belts, seats and the inner front belts installed.
The headliner was the biggest challenge installing, though not technically difficult, you do need 2 people to install it. Luckily my wife had some free time to help me hold it in place while I got the trim pieces installed.
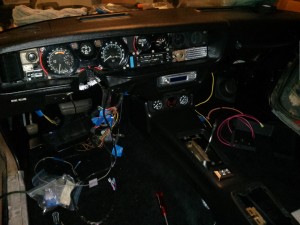
Dash Gauges, Switches and Wiring
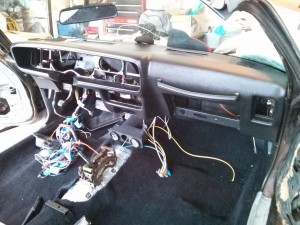
The dash installed quite smoothly. Unfortunately, installing the gauges was not so easy. There is absolutely no room when working under the dash, pretty much each gauge, cluster and switch needs to be installed in a particular order, otherwise you’ll make things harder for yourself, screws become harder to access, etc… The only wire harnesses not hooked up at this point plug into the steering column.
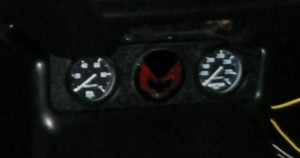
Center Console Gauges
The center console was to be installed promptly after installing the dashboard. When it came time to install the console, I found the 4-AN to 1/8 NPT threaded adapter I got for my oil pressure gauge did not match the thread output on the AutoMeter gauge itself. After doing some research, I found that the AutoMeter “AutoGage” gauges are budget gauges, designed to compete with the low end gauges like SunPro’s or Harbor Freight’s gauges. The connectors exclusively use pressure fittings, which cannot be converted to NPT (pipe fittings). The process lead me to purchase another set of oil pressure and water temperature gauges.
I already decided I wanted black gauges with white lettering and white needles, with black bezels. This combination would match the factory gauges perfectly. Unfortunately, most brands use either chrome bezels and/or needles with red pointers. After doing a lot of research, I discovered a brand of gauges called ISSPro, which are very popular in the diesel / trucking industry. They are a perfect match to my gauges! Not only that, the fittings on the back of the gauge was the correct 1/8 NPT. They are now on order ad should arrive in early May.
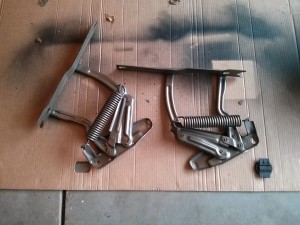
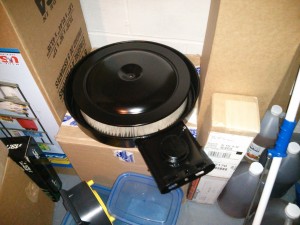
Painted Hinges and Air Cleaner Base
When the weather broke 60 degrees, I took the opportunity to paint the parts I had sand blasted over the winter. The hood hinges I painted with Dupli-Color etching primer topped with Dupli-Color cast iron coat engine enamel. The air cleaner got Rustoleum clean metal primer followed by Rustoleum Semi-Gloss black.
Transmission Ready To Go
I took my transmission, a TH-350 that came with the Pontiac 400 I bought 3 years ago, to a buddy of mine to clean it up, install new seals, filter and a TransGo shift kit. I went with the stage 2 of the stage 1-2 shift kit. Tim went above and beyond cleaning the transmission, it looks brand new! When the motor is done, I will bolt this onto the motor right before installing into the car. The shift kit should work great with the built-in ratcheting shifter in the Trans Am. Not too many folks know about the ratcheting feature, it’s not as fancy as an aftermarket ratcheting shifter, but it’s factory and works quite well.
What’s Next
In May, the plan is to finish installing the interior and assemble the motor. Hopefully over Memorial day weekend I can get the motor with transmission mounted in the car, leaving June for wiring up the engine, installing the remaining hoses and lines to plan on Father’s day to test run the motor!
