If you are installing a Tanks Inc Fuel Injection gas tank such as models TM201-T or TM203-T into a 1974-1981 Firebird, Trans Am or Camaro, this write up is for you.
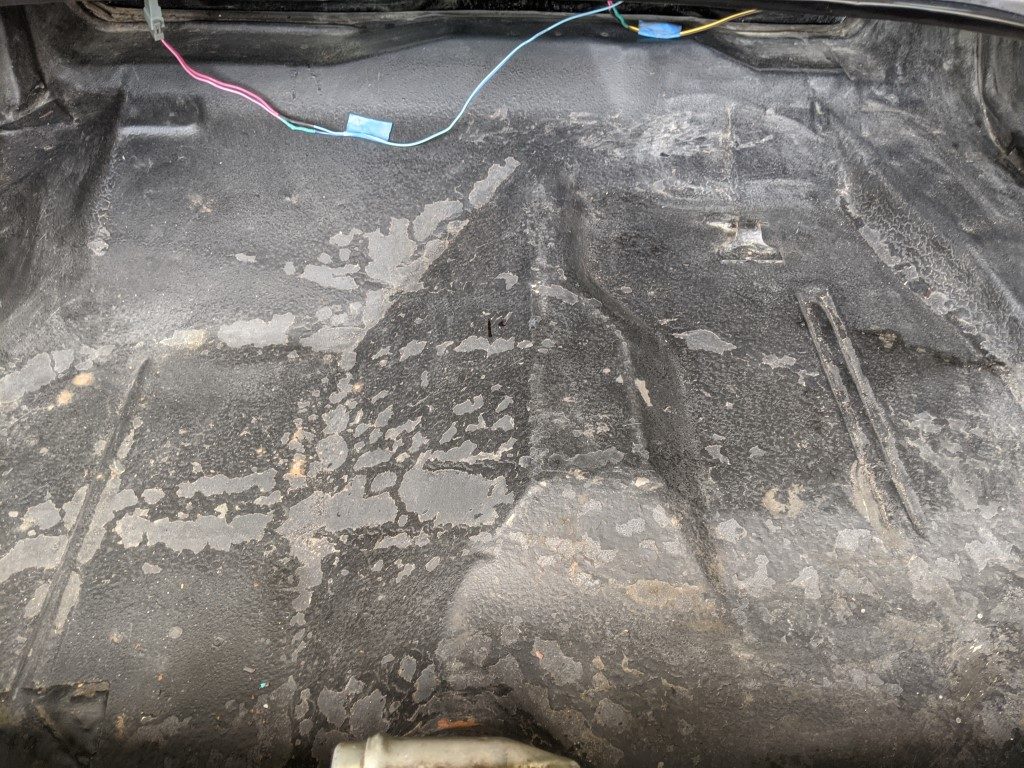
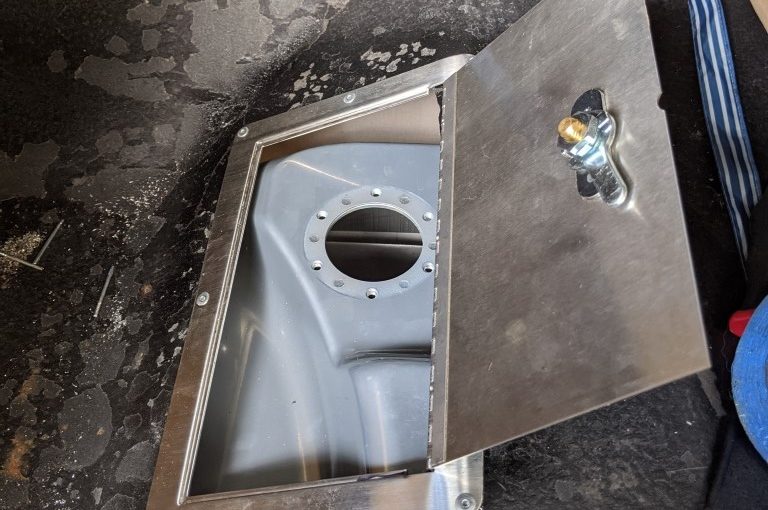
The 1975-1981 Firebird and Camaro trunk floor includes a lower and upper section with an angle almost center of the tank. This design makes installing a fuel access door a challenge. I have no idea why they made the trunk like this but it is what we have to work with. If you are like me and installing a Tanks Inc fuel injection tank, you want to be able to easily access the fuel pump in the event there is a problem or failure. Tanks’ answer is to install a fuel access door, such as models AD-66/AD-85/AD-44. The numbers indicate the width and height of the inside of the access door. If the floor was flat, the AD-85 would be perfect installed perpendicular for easy access to both the fuel pump and fuel sending unit. Unfortunately, this is not the case.
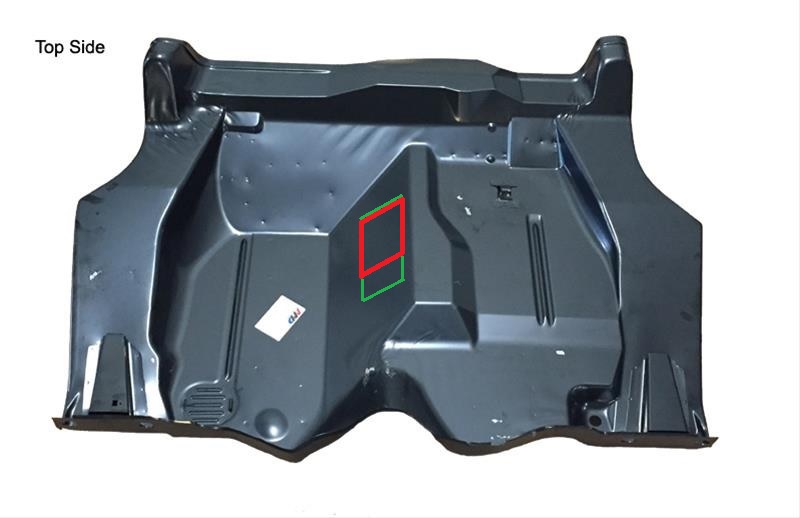
With measurements where the fuel pump comes through from the Tanks Inc tank, I confirmed it is possible to put the access door in the sloped portion of the trunk pan. Thanks Auto Metal Direct for a great photo of your product which made it easier for me to visualize for others where to cut.
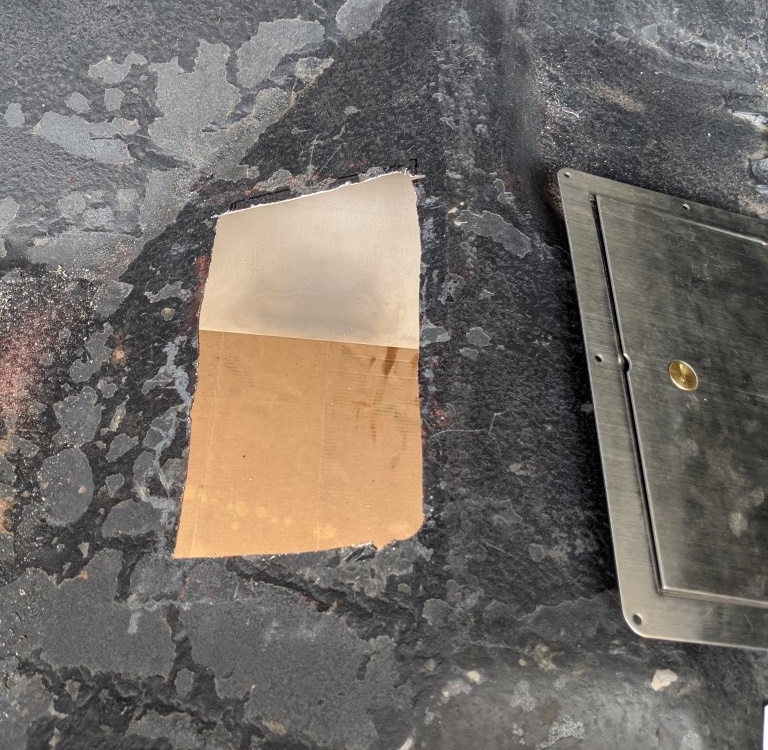
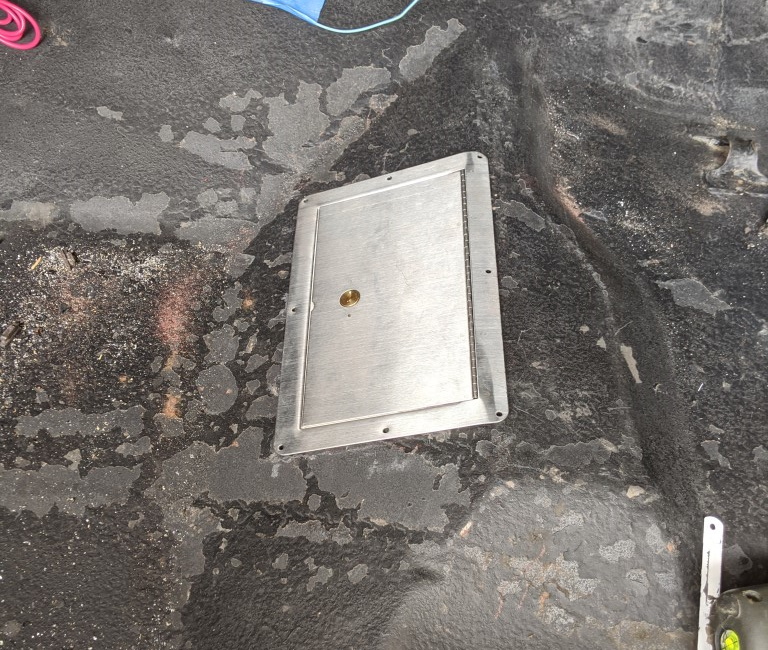
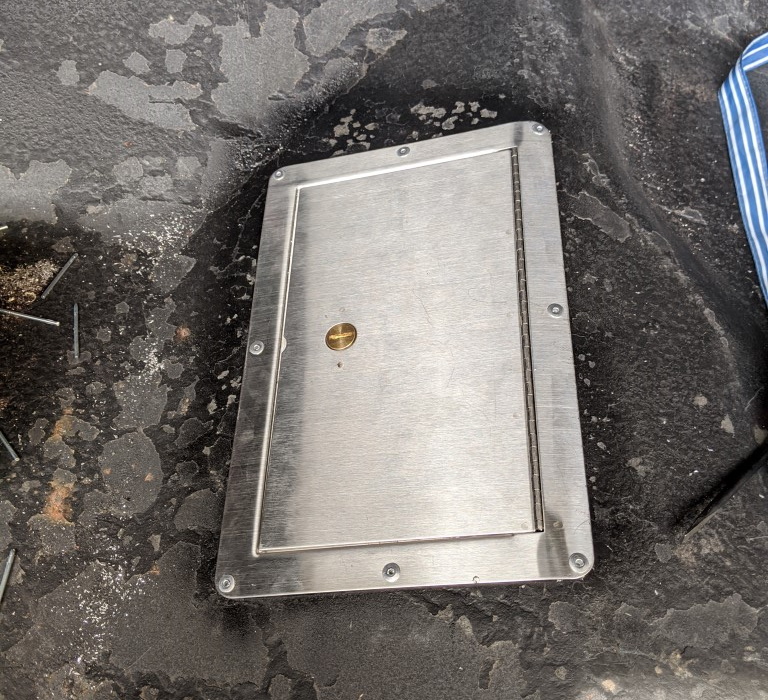
I decided to install the AD-85 8″ x 5″ access panel in parallel with the front/rear of the vehicle along the angled portion of the trunk floor. As you can see in the photo above I cut the floor along the angled center section. The way I cut the opening was on purpose; I wanted to leave about 1/2″ of the lip of the floor at the top intact to provide some strength to the floor panel. My cut technically means that part of the access door on the right will flow above the body panel seam. To mount the access door flush to maximize position to the right I took the access panel and set it on a piece of round stock and gently hammered a bend at the top of the door swing frame to match the contour of the body panel. The end result is what you see below, the access door with a slight bend at the hinge side.

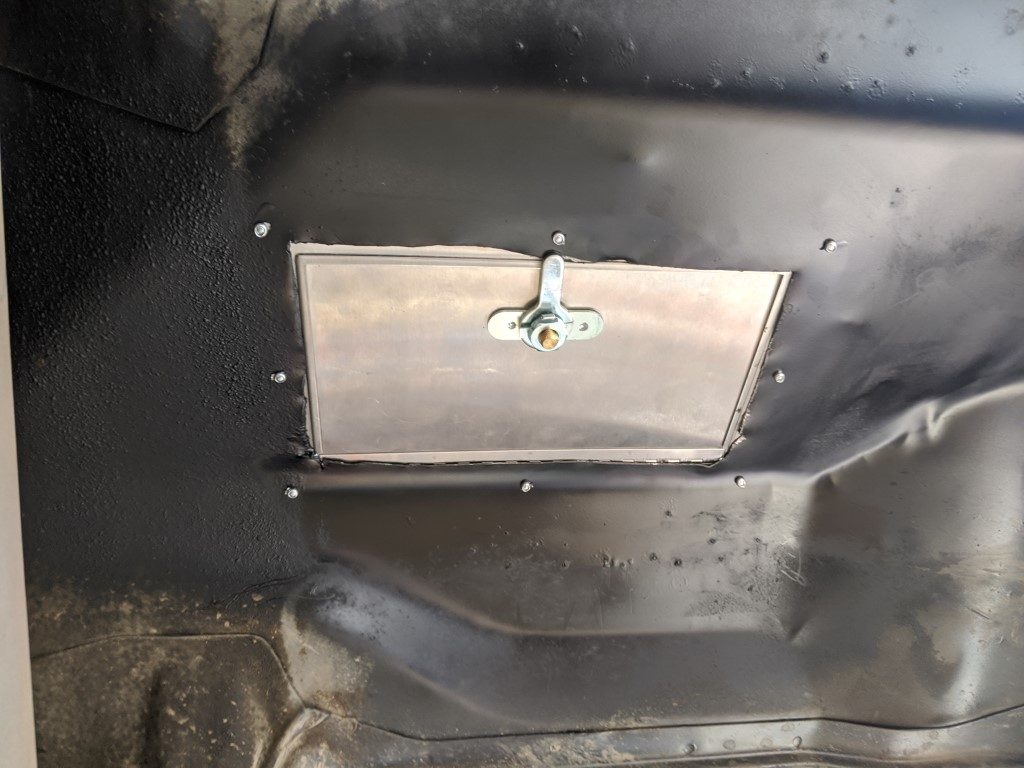
Once test fit looked good, I hit the corners with a file then sprayed some VHT satin black Roll Bar and Chassis paint to seal the bare metal spots.
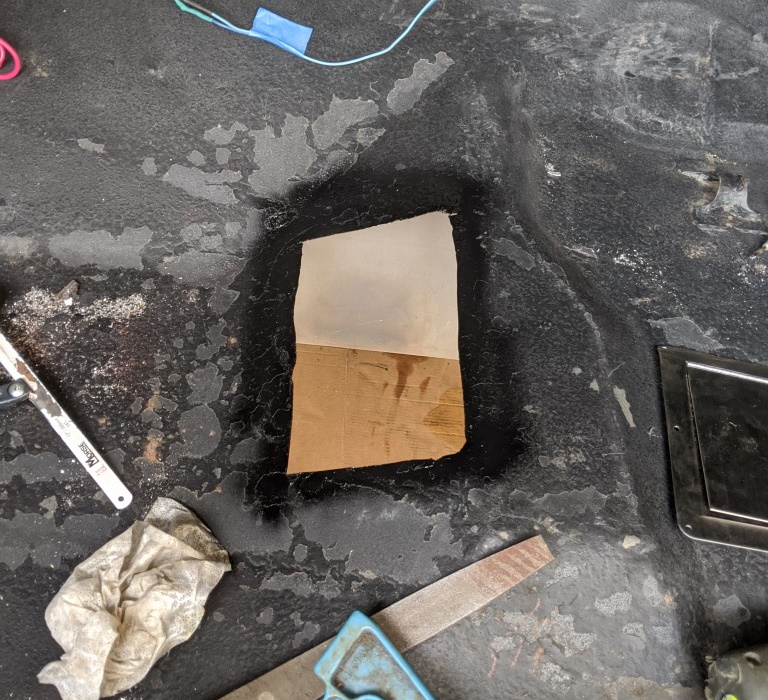
I proceeded to install the access door with rivets. The final result is clean and gives me perfect access to the fuel pump.
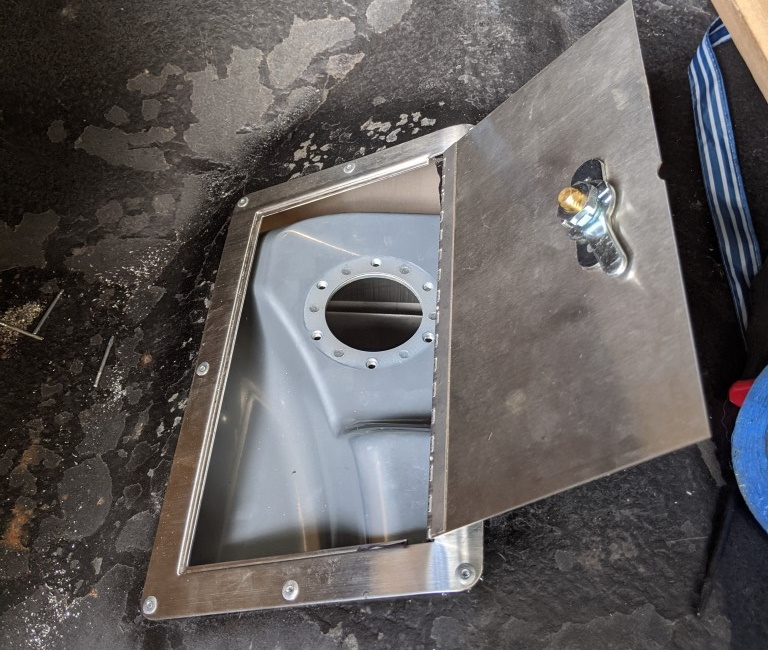
I am currently in the process of replacing the rear leaf springs and did not permanently mount the gas tank into the car just yet. Once I do, I will be using black seam sealer around the perimeter of the plate to seal the access door. I will also use very thin rubber strips to outline the perimeter of the inside of the access door to form a seal. The seal will also absorb possible vibrations.
Where to cut the Tanks fuel access door?
For those who are curious where I positioned the opening, I used the reinforcement ribs on the right as a reference for the perpendicular cuts and the upper over the axle panel bend for the parallel cuts.
The furthest right cut is 12″ to the left of the center reinforcement rib.
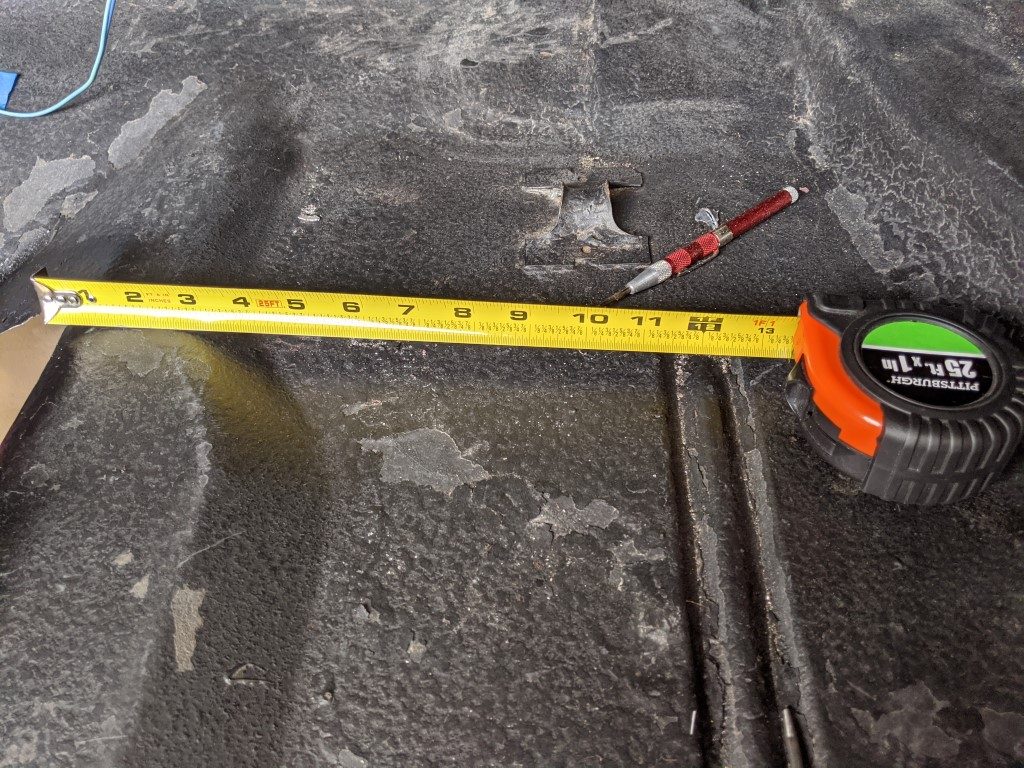
The perpendicular cut closest to the front of the vehicle is 9.25″ from the rear axle floor sheet metal bend.
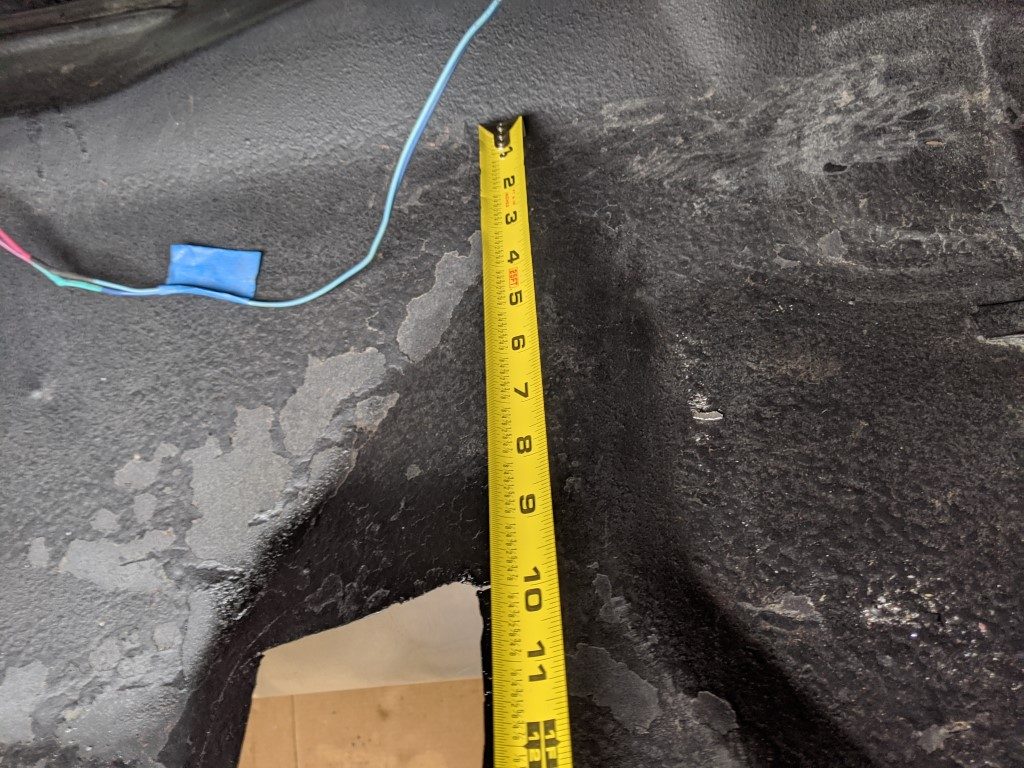
I first used a step drill bit at each corner to make the hole large enough to insert a sawsall blade. The perpendicular cut was 5″ long and the parallel cut was 8.75″ long. My cut lines were not perfect, I may have gone over about 1/8″ in spots. If you want more precise cuts I would highly recommend using a body saw.
Tanks fuel access door installed
I’m pleased with the results. As I noted before, I will follow up with seam sealer around the edges and add a thin layer of rubber along the inside perimeter of the hinge to seal the door when closed as well as absorb possible vibrations.
